
Quick answer: For a one- to three-month stay abroad, do not look for one perfect phone plan. Build a simple system. Keep your U.S. number reachable enough for banking, family, and account recovery. Add affordable local or travel data for maps, messaging, rides, translation, and everyday errands. Before you leave, confirm that your phone is unlocked and that you understand its eSIM or physical SIM options. Then test calls, texts, data, hotspot, banking logins, and messaging apps before you are relying on them in a new country.
Phone service is easy to dismiss until the moment it is not working. On a short vacation, you might get by with hotel Wi-Fi, a few screenshots, and occasional roaming. On a one- to three-month stay, your phone does much more. It becomes your map, translator, bank branch, landlord contact, clinic scheduler, rideshare tool, family line, and often the device that proves to an account that you are really you.
The goal is not to find the trendiest eSIM or the cheapest possible gigabyte. The goal is to avoid ordinary problems turning into expensive ones: a U.S. number that no longer receives bank codes, a travel eSIM that will not activate, an apartment with weak signal, or roaming settings that quietly create extra charges. Phone service belongs with money access, digital document organization, housing checks, and first-week admin. If you are building the wider setup, pair this with the money access backup plan and the Money + Setup route.
Phone service is only one setup cost. For the full arrival-period picture, add it to your first-90-days abroad budget alongside temporary lodging, deposits, groceries, transportation, healthcare, prescriptions, and emergency buffer money.
Start with the phone you already own
Before comparing plans, check the device in your hand. A local SIM or destination eSIM is only useful if your phone can actually use it. The first question is whether the phone is unlocked. A locked phone may be restricted to the carrier that sold it, which can prevent you from using another carrier abroad. The FCC’s consumer guidance points people back to their wireless provider for the policies and steps that apply to their device, so handle this while you are still home and can call support, visit a store, or wait out a processing delay.
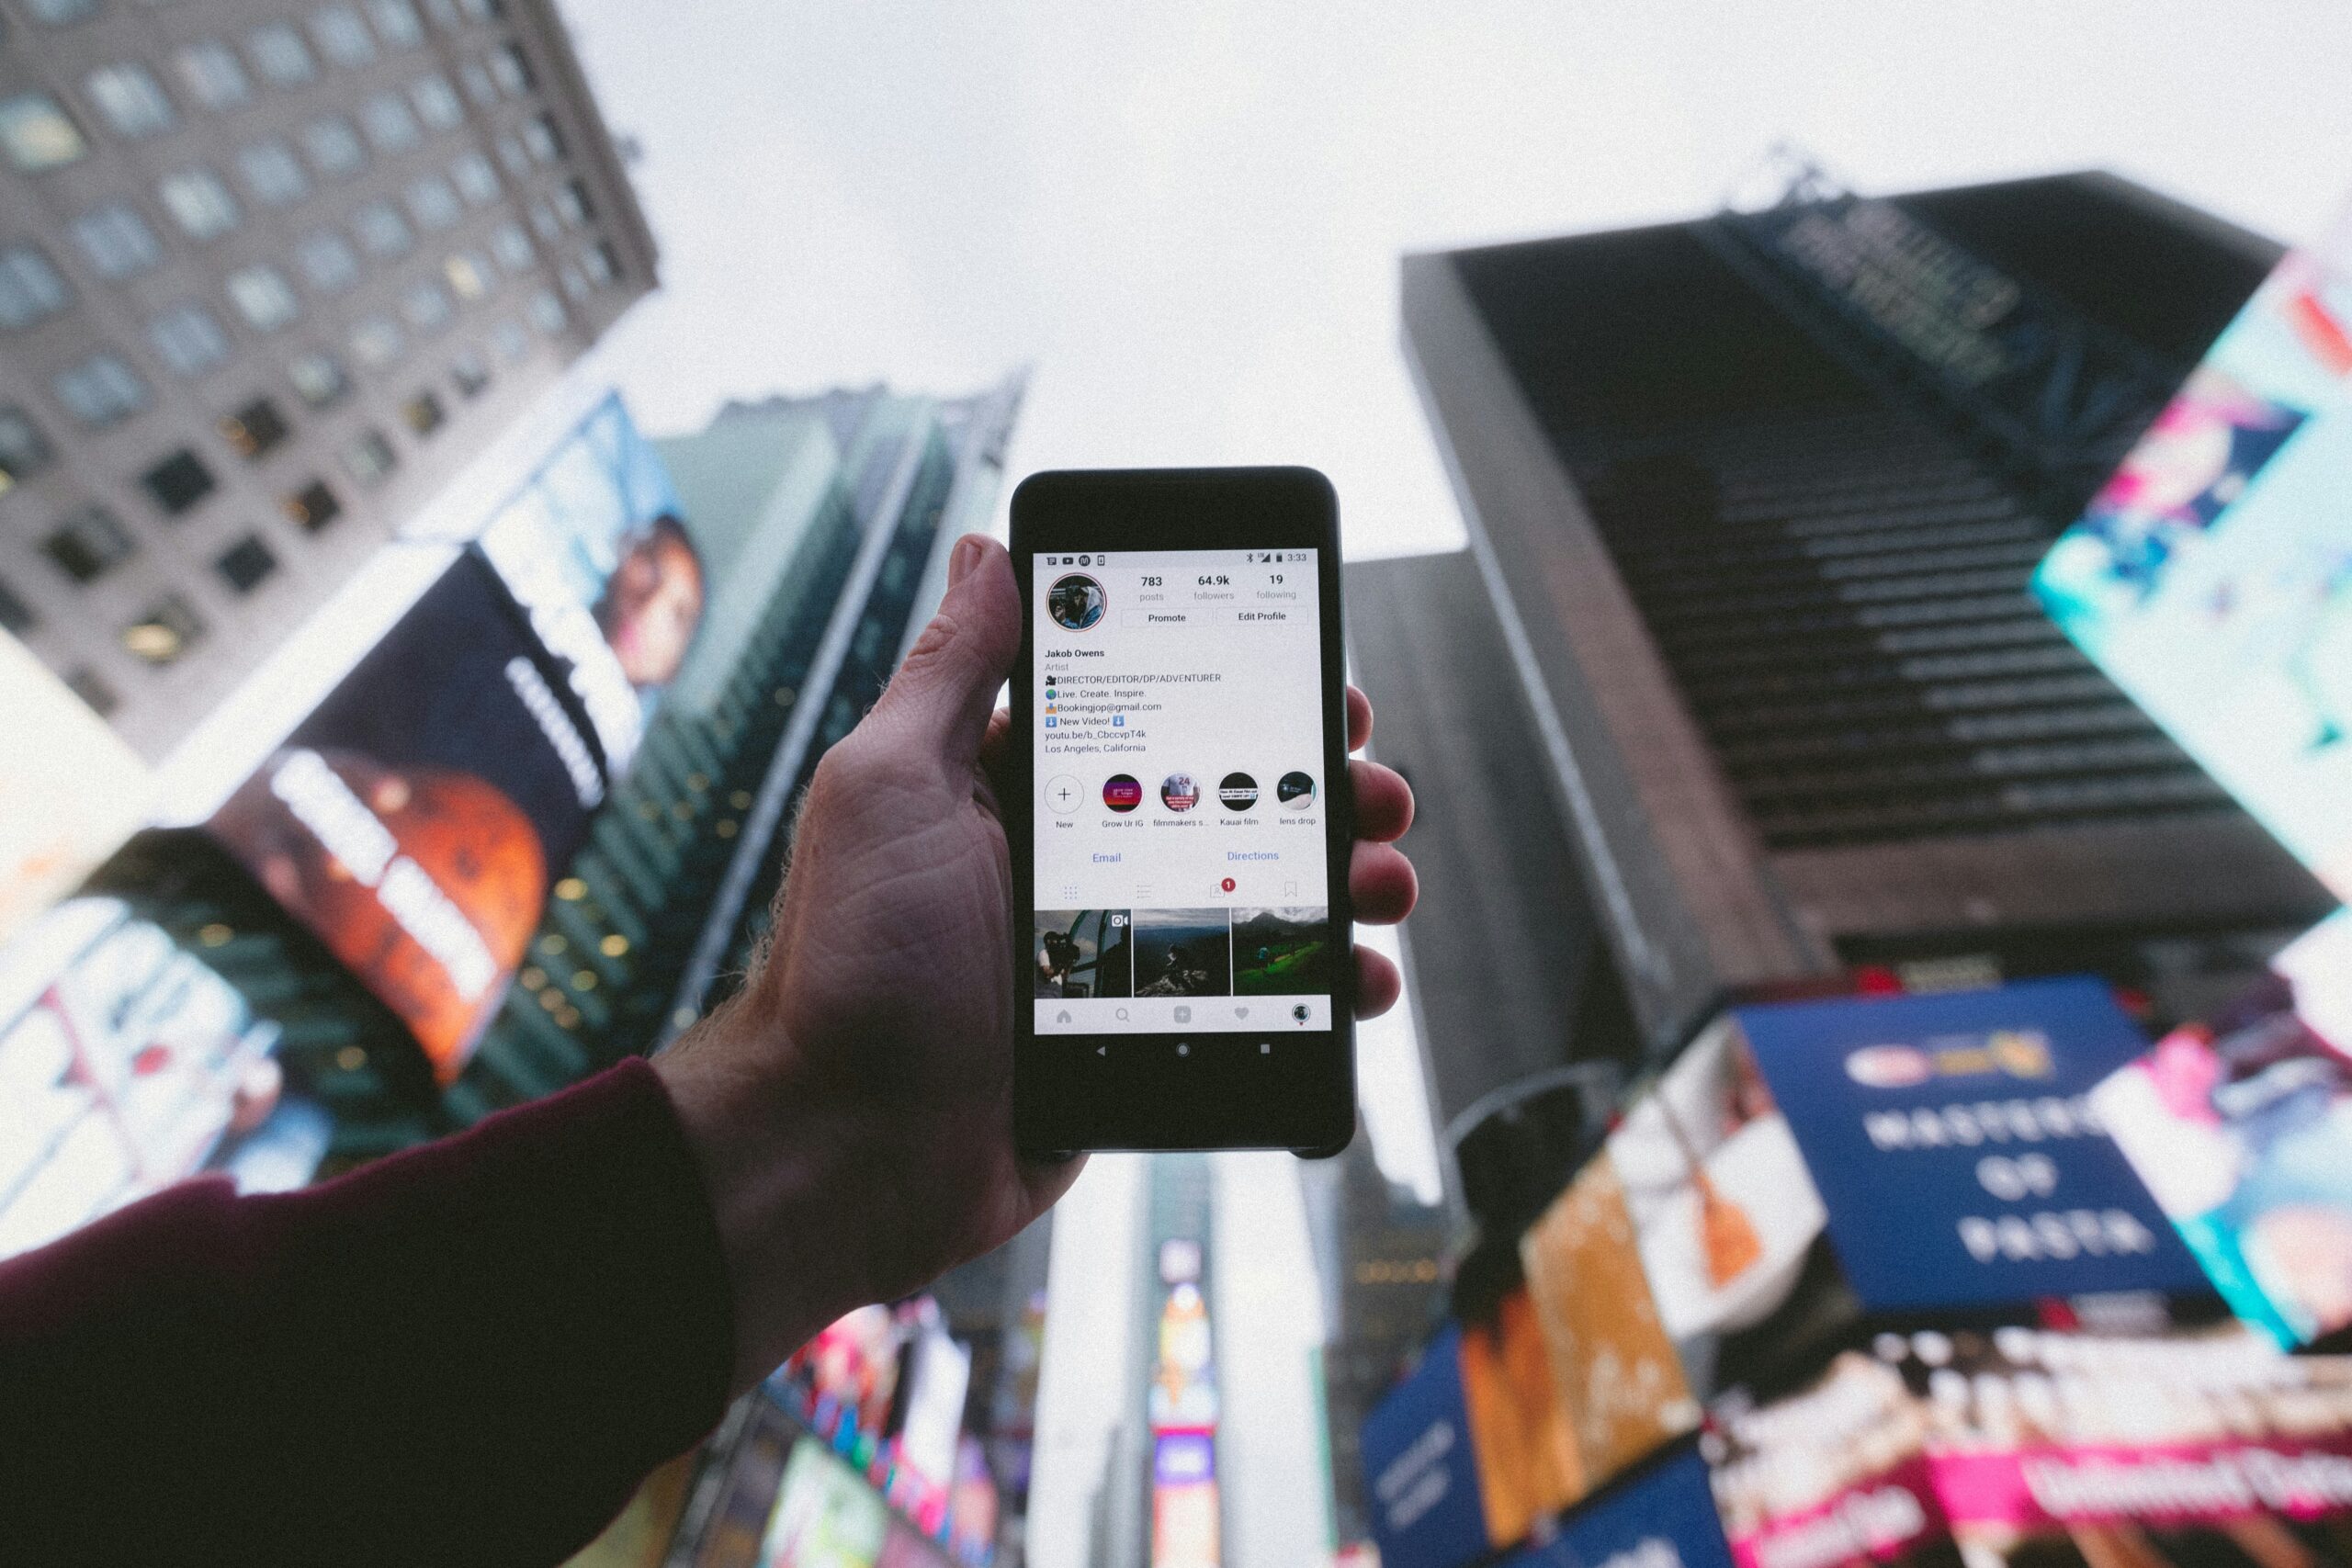
Next, confirm whether your exact phone supports eSIM, physical SIM, or both. Many newer phones can store an eSIM and keep another line active at the same time, but this depends on the model, carrier, and country. Apple notes that supported iPhones can use eSIM while traveling internationally, and Google’s Pixel guidance explains that many Pixel models support dual-SIM setups depending on the model and carrier. Do not assume your phone works like a friend’s phone. Check your own model and account.
Also make sure the phone is paid off or otherwise eligible to be unlocked if your carrier requires that. Waiting until the night before a flight is a good way to discover a problem you no longer have time to fix. A practical pre-trip check is: unlock status, eSIM support, physical SIM tray if you may need one, hotspot or tethering support, charger and backup cable, and enough storage for offline maps and the apps you will actually use.
Decide what your U.S. number still has to do
This is the step people skip. They focus on cheap local data, then find out that a bank, credit card, Medicare portal, Social Security account, email account, or password reset still expects the U.S. number. If that line is cancelled, disabled, or sitting on a tiny SIM card you removed and misplaced, the cheap data plan may not feel cheap for long.
Make a short list before you leave. Which accounts send one-time codes by text? Which relatives call your regular number? Which doctors, pharmacies, banks, or insurance companies might use it? Is your WhatsApp account registered to it? Does your password manager or email recovery process depend on it? If the answer is “yes” for important accounts, keep the number alive in a way you understand.
That does not automatically mean paying for expensive full roaming for three months. It may mean keeping your U.S. plan active at a lower level, enabling Wi-Fi calling if your carrier and phone support it, using a roaming pass only when needed, or preserving the U.S. number while a separate data eSIM handles daily use abroad. The right setup is personal. The general rule is not: do not casually cut off the number that controls your money, identity, and family contact.
For banking, treat phone setup as part of your financial backup plan. Test logins from the phone and laptop you will carry. Confirm that authenticator apps, backup codes, password manager access, and email recovery work before you leave. If money access depends on a text message, know exactly how that text will reach you overseas.
Choose the right mix: roaming, travel eSIM, or local SIM
For longer stays, there are four common approaches. None is perfect, and none deserves to be treated like a magic answer. The best choice is the one that fits your phone, destination, budget, and need for a local number.
Option 1: use your U.S. carrier’s international roaming
Roaming is convenient because your regular number keeps working. It can be useful for arrival day, bank verification, a short stopover, or a country where local setup is confusing. The downside is cost. The FCC warns that domestic U.S. plans often do not cover usage abroad and that voice, voicemail, texts, and internet access may carry higher rates on foreign networks. Before you travel, read the roaming rules in your account and ask your carrier what applies in the specific country.
If you choose roaming, set clear boundaries. Know the daily pass cost, monthly cap if any, data limit, hotspot rules, and what happens after the limit. Turn off data roaming unless you intend to use it. Watch voicemail, photo backup, app updates, and video calls, because background usage can surprise you. Roaming can be a useful tool. It should not be an accidental open tab running for weeks.
Option 2: add a travel eSIM for data
A travel eSIM can be the cleanest option for many one- to three-month stays. You buy a data plan, install it digitally, and use it for maps, messaging apps, email, browsing, translation, and rides. Depending on your phone and carrier, you may be able to keep your U.S. number active in the background while the travel eSIM handles data.
The catch is that many travel eSIMs are data-only. That can be perfectly fine if your day-to-day life runs through WhatsApp, Signal, iMessage, FaceTime, Telegram, email, and web forms. It is less fine if a landlord, clinic, delivery driver, government office, or bank needs a local voice call or SMS. Before buying, check whether the plan includes data only, data plus calls, a local number, hotspot, top-ups, and coverage in the exact country. Do not let a glossy plan page do all the thinking for you. Read the terms.
Option 3: buy a local prepaid SIM or eSIM
A local prepaid SIM or eSIM can be cheaper and more practical for a full month or more, especially if you need a local number. In some countries, local plans are easy to arrange. In others, setup may require passport registration, a visit to a carrier shop, a local payment method, or some patience with language barriers. None of that means you should avoid it. It means you should not make it your only arrival-day plan.
If you use a physical local SIM, protect the tiny U.S. SIM. Put it in a labeled case, not loose in a pocket or the bottom of a backpack. If your U.S. number is an eSIM, understand how to switch lines without deleting it. Do not delete a working eSIM profile unless you are certain you can reinstall it from abroad.
Option 4: carry a backup phone or hotspot
This is not necessary for everyone, but it can help if your stay is remote, your work depends on connectivity, or losing your main phone would create a serious problem. A used unlocked phone can hold a local SIM, serve as a backup map, or become the device you use if your main phone breaks. A pocket hotspot can help in some situations, but it adds another device, charger, plan, and point of failure. Keep the setup simple unless you have a clear reason to add more gear.
Set up service before you are under pressure
The worst time to install an eSIM is when you are tired, outside the airport, using weak public Wi-Fi, and trying to message a host. Whenever possible, install or prepare the eSIM before departure, then activate it according to the provider’s instructions. Some plans should not be activated too early because the clock starts immediately. Others can be installed in advance and activated on arrival. Read the details and save the instructions offline.
Have an arrival fallback even if you are confident. That might be one day of roaming, airport Wi-Fi, a printed apartment address, a pre-arranged airport pickup, offline maps, or a screenshot of host instructions. This overlaps with choosing a sensible first base: the easier the first city and first neighborhood are, the less your whole arrival depends on a perfect phone setup. If you are still choosing the destination and first stop, read how to choose your first base abroad without overthinking it.

Once service is active, test it while you still have options. Open maps. Send a message. Load your bank app without making a sensitive transaction on public Wi-Fi. Call or text if the plan includes it. Try hotspot if you expect to use it. Confirm that your phone is using the intended line for data and not quietly roaming on the wrong one. Label the lines in settings so “Primary,” “Travel,” and “Local” are obvious later.
Protect banking, messaging, and account recovery
Your phone number is part of your security system. That is useful until the system assumes you are still sitting at home. Before leaving, update recovery email addresses, save backup codes somewhere you can reach, and make sure your authenticator app is backed up in a way you actually understand. If a bank allows app-based verification instead of SMS, test it before the trip. If it only uses SMS, know how your U.S. number will receive that SMS.
Be extra careful with surprise texts and emails while abroad. The FTC warns that phishing messages try to steal passwords, account numbers, and other personal information. Travel stress makes fake bank or carrier messages more believable. If you receive a scary alert, do not tap the link reflexively. Open the official app, type the known website, or use a saved phone number.
WhatsApp deserves its own note because it is often the default local communication tool outside the United States. If you rely on it, confirm it works before departure and be careful about re-registering it to a new number unless you truly mean to. You may want a local number for landlords or clinics, but you may not want to move every personal conversation away from your U.S. number. Separate those decisions.
Check signal and Wi-Fi when you arrive
For a longer stay, the apartment matters as much as the plan. A phone setup that works downtown may be weak inside a concrete apartment, hillside neighborhood, older building, or interior room. During the first day, test signal in the bedroom, work area, kitchen, building entrance, and street. Test Wi-Fi calling if you plan to use it. Test video calls if family calls, remote work, or telehealth appointments matter.
This belongs on the same arrival checklist as locks, hot water, noise, and internet speed. The guide on what to verify in an apartment during the first 24 hours abroad covers the broader housing check. Add phone signal to that list, because weak service can turn ordinary errands into frustration.
Related: Phone service is part of the same recovery system as banking access and document backups. The broader setup is here: How to Build a Simple Money-and-Documents Backup System Before a Longer Stay Abroad.
Build a small backup plan
You do not need a dramatic emergency kit. You need a few boring backups. Save offline maps for your city. Screenshot the apartment address, host number, carrier instructions, QR code or activation details, bank support numbers, and emergency contacts. Keep a charger and small power bank. Store your SIM ejector tool or a paperclip somewhere sensible. If using a physical SIM, label the spare SIM and do not leave it loose.
If the phone is lost, your first job is safety, then account protection. Know how to locate, lock, or erase the phone from another device. Know how you would reach your bank without that phone. Know where your password manager recovery options live. If you carry a backup phone, keep it updated enough to be useful, not buried dead in a suitcase.
Also have a non-phone path for the first few hours: a printed address, a small amount of local cash, and at least one contact written down. This is not old-fashioned. It is what keeps a dead battery from becoming a crisis.
A simple phone setup checklist
- Check whether your phone is unlocked before departure.
- Confirm eSIM, physical SIM, and dual-SIM support for your exact model.
- Decide what your U.S. number must still do for banking, family, and account recovery.
- Choose roaming, travel eSIM, local SIM/eSIM, or a two-line setup based on the stay length and destination.
- Read actual roaming rates, data limits, hotspot rules, and plan terms.
- Install or prepare the plan while on reliable Wi-Fi when possible.
- Test data, calls, texts, hotspot, bank logins, and messaging apps.
- Save offline maps, addresses, activation instructions, and support numbers.
- Check apartment signal and Wi-Fi during the first 24 hours.
- Keep a small fallback: printed address, power bank, emergency contacts, and a way to reach money without the phone.
The boring version is the winning version. Keep the U.S. number from breaking your accounts, add affordable data for daily life, and test the setup before it matters. Then phone service becomes what it should be: a quiet utility in the background, not the thing that decides whether your first week works.
Phone service is one part of the larger trial. Build it into a 30-day city test so banking logins, two-factor codes, maps, rides, and backup access are checked before a longer stay.
Phone service and power are linked during longer stays. Before relying on maps, banking codes, and eSIM setup, check the travel power adapters guide so your devices can charge reliably.
Phone service is one of the practical gates a city should pass before money is committed. Add the phone plan to the shortlist gate before booking so arrival, two-factor authentication, maps, rides, and emergency contact all have backups.
References
- FCC: Cell Phone Unlocking
- FCC: International Roaming — Mobile Phone Use Abroad
- FCC: Bill Shock
- Apple Support: Use eSIM while traveling internationally with your iPhone
- Apple Support: Set up eSIM on iPhone
- Google Pixel Help: How to use dual SIMs on your Google Pixel phone
- FTC: How To Recognize and Avoid Phishing Scams
- FTC: Avoid Scams When You Travel
- U.S. State Department: International Travel Checklist
Related: Phone service and bank access overlap more than most travelers expect. Pair this setup with How to Avoid Getting Locked Out of Your Money Abroad.
After the phone is working, treat week one as a practical systems test. The first-week admin checklist after arriving abroad covers the other basics to verify next: money access, route home, groceries, pharmacy options, documents, and emergency numbers.